
Step 1: Create a ProWebSms Account
If you don’t already have a ProWebSms account, create one from the official ProWebSms registration page. After creating your account, log in to the ProWebSms dashboard. Your ProWebSms Login ID and Password are the credentials you use to access your account.Step 2: Get Your Login ID and Password
Your Login ID and Password are the credentials associated with your ProWebSms account. Use the same credentials that you use to sign in to the ProWebSms dashboard. In COD King:- Login ID: Enter your ProWebSms account login.
- Password: Enter your ProWebSms account password.
Step 3: Generate Your Access Token
ProWebSms requires an access token for API requests. According to the official API documentation, an access token is generated using the account login and password together with the ProWebSms developer/API key. The API authentication endpoint is:/api/v2/access-token
The access-token request uses:
- Login
- Password
- API Key
- Application name
- Enter your Login ID.
- Enter your Password.
- Click Generate access token.
- COD King will generate the Access Token.
- Confirm that the Access Token is populated in the field.
Step 4: Get Your Gateway UUID
The Gateway UUID identifies the specific SMS gateway or device that ProWebSms will use for sending messages. According to ProWebSms’s official documentation, you can find the gateway/device UUID from your ProWebSms dashboard.- Log in to your ProWebSms dashboard.
- Open your device or gateway list.
- Select the gateway or device you want to use.
- Open its details.
- Copy the Gateway UUID.
Step 5: Connect ProWebSms to COD King
- Open your Shopify Admin.
- Go to Apps and open COD King.
- Navigate to Settings.
- Select Local SMS gateway.
- Select ProWebSms (Smshare) (Global) from the Network Provider dropdown.
- Enter the following details:
- Login ID: Enter your ProWebSms account login.
- Password: Enter your ProWebSms account password.
- Access Token: Enter the access token generated by COD King.
- Gateway UUID (optional): Enter the UUID of the ProWebSms gateway or device you want to use.
- Save your settings.

Step 6: Send a Test SMS
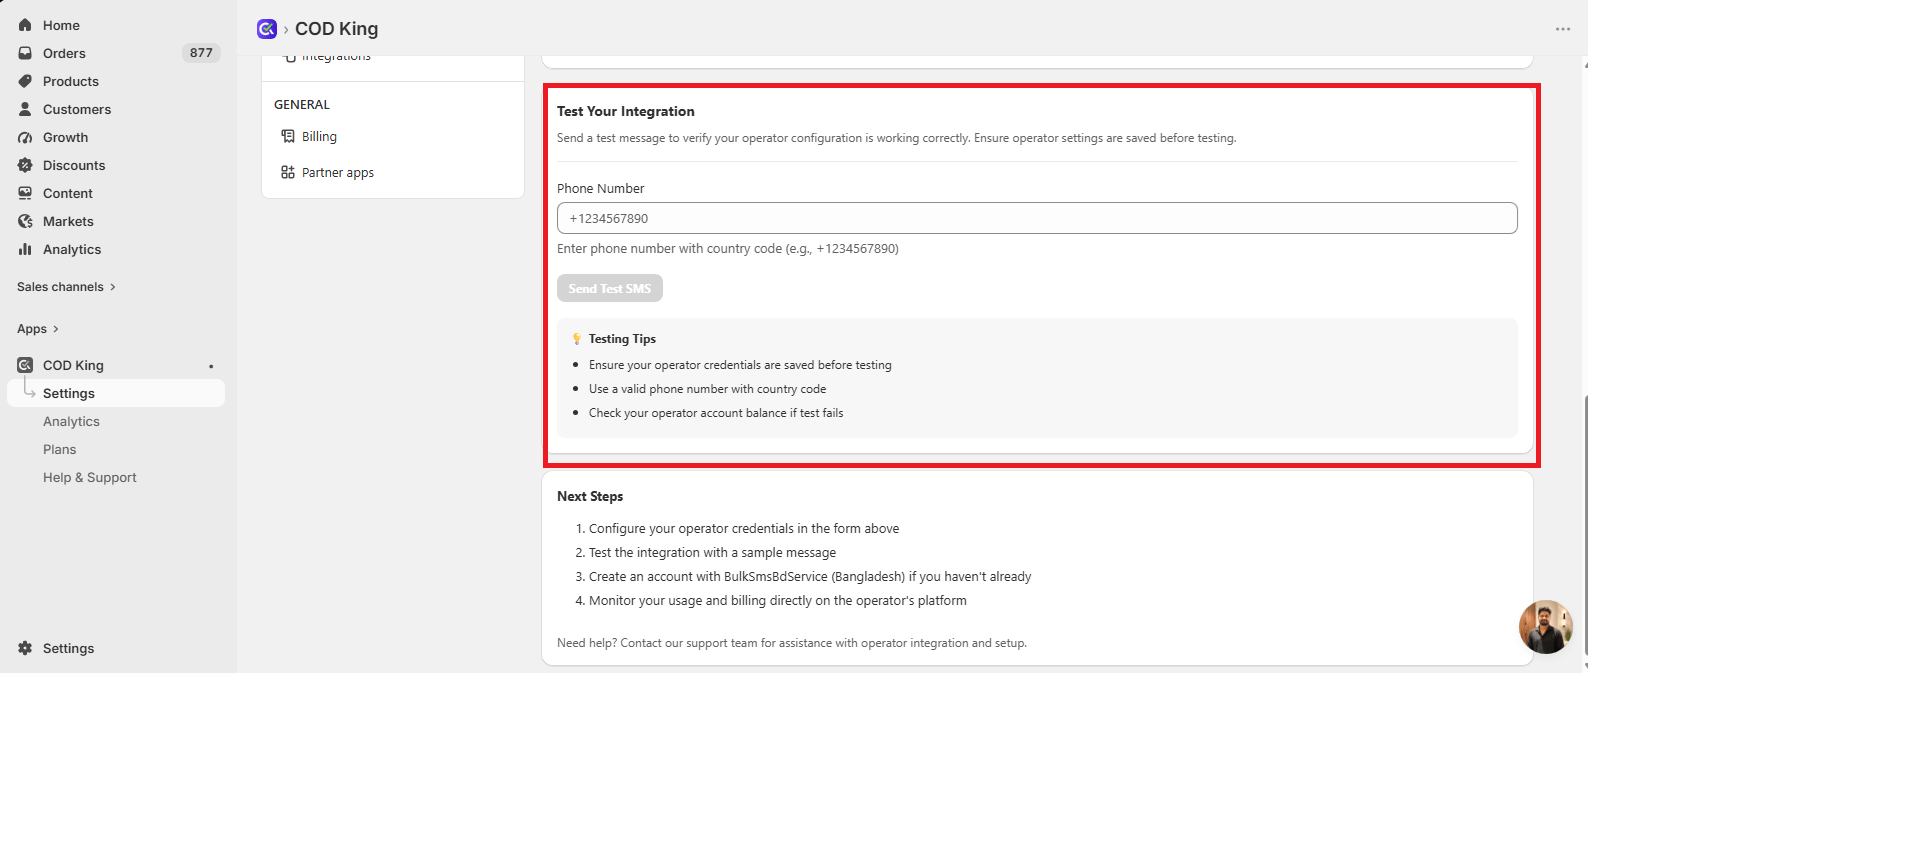
After saving your ProWebSms configuration:- Scroll to the Test Your Integration section.
- Enter a valid phone number in the Phone Number field.
- Click Send Test SMS.
- Check the recipient phone for the test message.
Troubleshooting
If the test SMS is not delivered:- Verify that the Login ID is correct.
- Verify that the Password is correct.
- Generate a new Access Token if the existing token is invalid or expired.
- Make sure the Gateway UUID belongs to an active ProWebSms gateway or device.
- If you are not using a specific gateway, leave the Gateway UUID field empty.
- Make sure your ProWebSms account has the required SMS credits or sending setup.
- Verify that the test phone number is entered correctly.